
If you want to ensure important emails don’t end up in your junk or spam folder, follow these steps to whitelist emails in Outlook or Hotmail:
Step 1: Open Your Outlook Account
Log into your Outlook (or Hotmail) account. The steps should look similar across different versions.
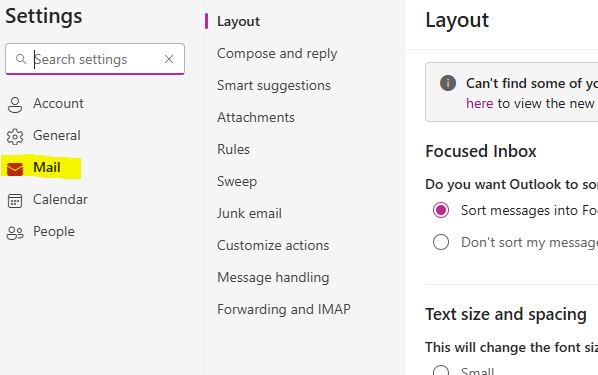
Step 2: Go to Settings
In the top right corner, click on the Settings icon (gear symbol).
Step 3: Select “Mail” from the Options
In the menu that appears on the left side, make sure Mail is selected to access email-related settings.
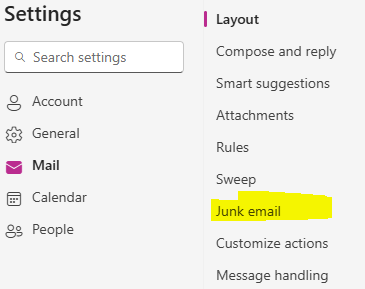
Step 4: Click on “Junk Email”
In the next column, find and click on Junk Email to see your junk email options.
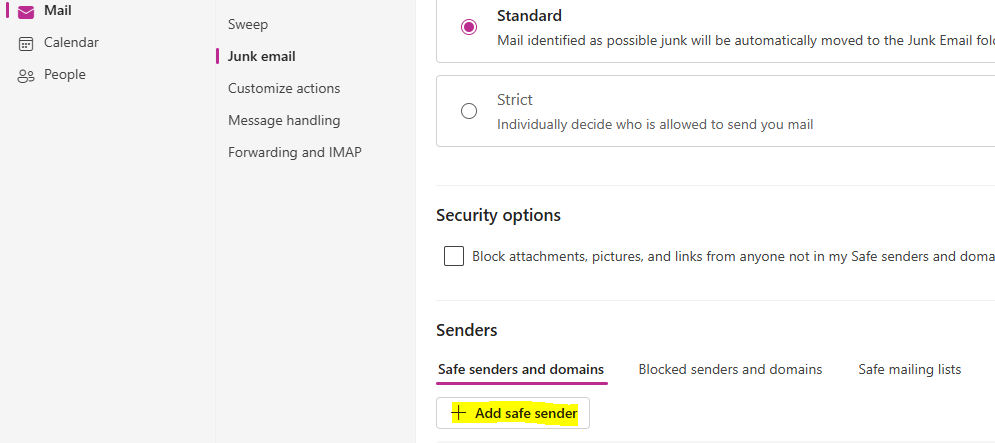
Step 5: Add a Safe Sender
Under Safe Senders and Domains, click on Add to add a new safe sender.
Step 6: Enter the Domain and Click OK
You can enter either an individual email address or a domain. It’s often easiest to enter the domain, like “energeticsofbusiness.hub.com,” so any email from that domain (like support@energeticsofbusiness.hub.com) will come through to your inbox.
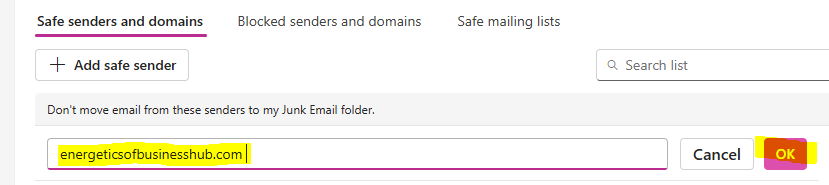
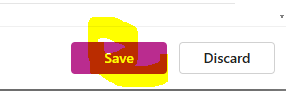
Step 7: Save Changes
Once you’ve entered the domain or email address, click Save to confirm your changes.
And that’s it—easy! Your chosen sender will now be whitelisted, so their emails will land safely in your inbox.
Free Quiz
Are you a bit of a technophobe?
Take the fun quiz!
Leave a Reply